A narrow entryway creates a design challenge that most homeowners face at some point. Shoes pile up by the door, create clutter, and make a terrible first impression on guests. The problem isn’t just aesthetic, it’s functional. Without proper storage, footwear becomes a daily obstacle course, especially in households with multiple people.
The good news? Even a tight entry measuring 24 to 36 inches wide can accommodate smart shoe storage solutions. The key is choosing vertical designs, wall-mounted options, or slim profiles that keep floor space clear while holding a surprising number of pairs. This guide covers ready-made products and DIY builds that actually fit where space is at a premium.
Table of Contents
ToggleKey Takeaways
- Narrow entryway shoe storage solutions like vertical racks, wall-mounted shelves, and over-door organizers maximize space in tight 24–36 inch-wide entryways without blocking walkways.
- Vertical shoe racks and towers are ideal for narrow spaces, holding 15–20 pairs in a compact 10–12 inch depth while offering better ventilation through metal wire construction.
- Wall-mounted shelves and cubbies keep shoes off the floor entirely, but installation requires locating wall studs and using proper anchors; renters should verify lease terms before drilling.
- DIY narrow entryway shoe storage projects like ladder shelves, pipe racks, and crate towers cost $15–$60 in materials and can be customized to fit exact measurements.
- Measure entryway dimensions accurately, count your current shoe inventory plus 20% capacity for growth, and test storage placement for a few days before permanent installation.
- Choose storage types based on shoe composition—deeper shelves for boots, well-ventilated options for sneakers, and accessible height for children or elderly household members.
Why Narrow Entryway Shoe Storage Matters
Entryways set the tone for the entire home, and a chaotic shoe heap immediately signals disorder. Beyond appearances, poor shoe storage creates real problems. Tripping hazards increase when shoes scatter across walkways. Moisture from wet boots damages hardwood or laminate flooring. Odors concentrate in small, poorly ventilated spaces.
Proper shoe storage also protects the investment in footwear. Shoes stacked haphazardly lose their shape, develop creases, and wear out faster. A good storage system keeps pairs together, prevents scuffing, and allows air circulation to dry out moisture.
In narrow entryways, defined here as spaces 36 inches wide or less, standard storage furniture won’t fit. A typical shoe cabinet runs 30 to 40 inches wide, consuming nearly the entire walkway. That’s where specialized narrow solutions become essential. They maintain clear passage (building codes typically require a minimum 36-inch clearway in residential hallways) while keeping shoes organized and accessible.
The right system also scales with household size. A two-person household might need storage for 8 to 12 pairs of everyday shoes, while a family of four could require space for 20 or more pairs, including seasonal rotation.
Best Types of Shoe Storage for Narrow Entryways
Vertical Shoe Racks and Towers
Vertical shoe racks capitalize on height rather than floor space, making them ideal for tight entryways. These units typically measure 10 to 12 inches deep and 18 to 24 inches wide, fitting comfortably in spaces where horizontal storage fails.
Look for towers with at least five tiers, which hold approximately 15 to 20 pairs depending on shoe size. Metal wire construction offers better ventilation than solid shelves, crucial for drying damp shoes. Weight capacity matters, quality units support 50 to 75 pounds when properly assembled. Check that the base is wider than the top tier for stability, or plan to anchor taller units to the wall with L-brackets.
Some vertical racks feature angled shelves that display shoes toe-out, making pairs easier to identify at a glance. Others use horizontal bars spaced 6 to 8 inches apart. Bar-style racks work well for flats and low-profile shoes but struggle with boots or high-tops.
Assembly varies. Simpler models use tension rods between floor and ceiling, no tools required, but ceiling height must be 7 to 10 feet with a solid surface overhead. Freestanding towers need occasional tightening of connector bolts to prevent wobbling.
Slim Over-the-Door Organizers
Over-the-door organizers solve storage problems without consuming any floor space. These fabric or mesh units hang from the top edge of a door using metal hooks, with pockets arranged in vertical columns.
Dimensions are constrained by standard door widths. Most organizers measure 20 to 24 inches wide and 60 to 72 inches tall, with individual pockets sized for one shoe per pocket (not one pair). Pocket depth runs 5 to 7 inches, adequate for sneakers and flats, tight for men’s boots or women’s wedges.
Door clearance is critical. The organizer adds approximately 4 to 6 inches of depth to the door’s swing radius. In a narrow entryway, this can reduce usable passage width significantly when the door opens inward. Measure the door’s full swing path before purchasing.
Construction quality varies widely. Reinforced stitching around pocket edges prevents sagging under weight. Metal grommets at stress points last longer than fabric alone. The top hooks should be coated to prevent scratching painted or stained doors.
One downside: over-the-door storage blocks the door from closing fully in some cases, depending on hook design and door frame depth. Test the fit before loading it with shoes. Also consider that removing and rehanging the organizer every time someone needs the door space becomes tedious quickly.
Wall-Mounted Shoe Shelves and Cubbies
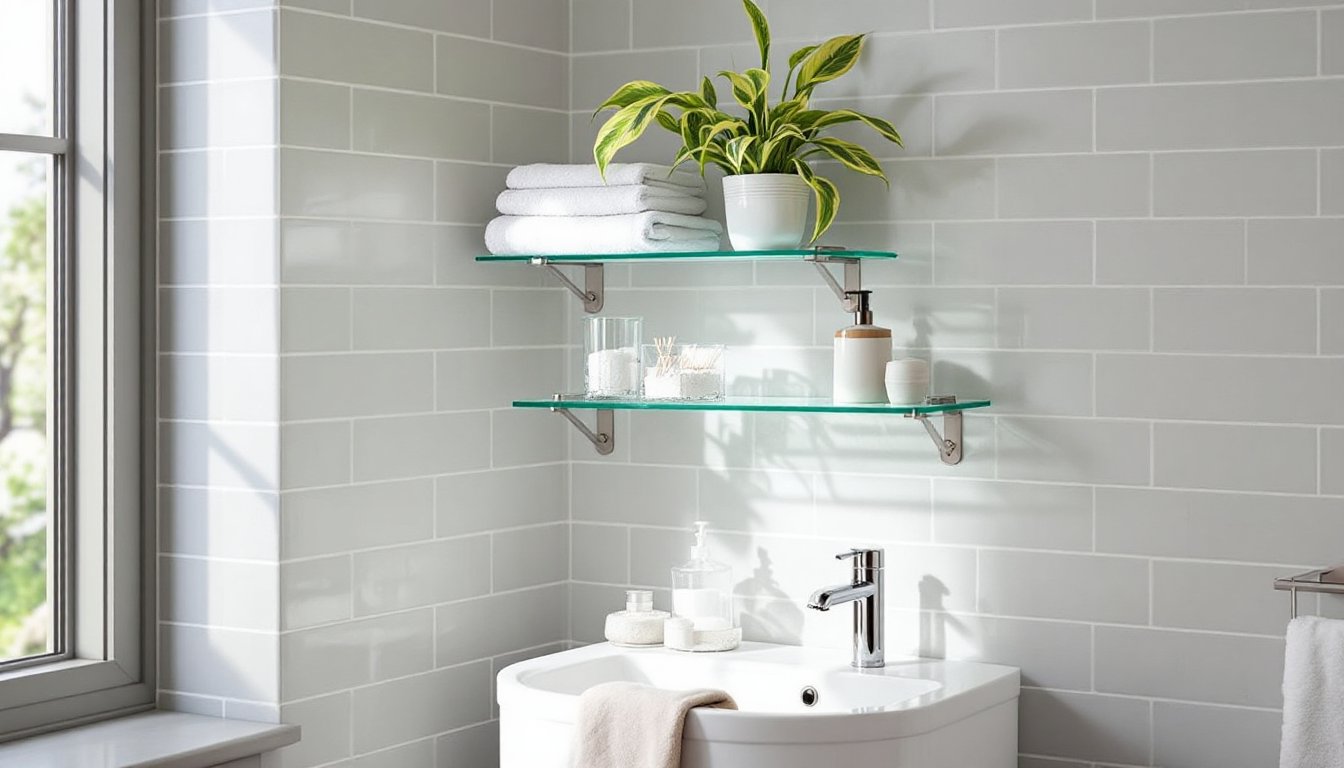
Wall-mounted solutions keep shoes off the floor entirely while maintaining clear walkways. These range from simple floating shelves to dedicated cubby systems designed specifically for footwear.
Floating shelves offer the simplest installation. Use shelves 10 to 12 inches deep and 24 to 36 inches wide, mounted 8 to 12 inches apart vertically. This spacing accommodates most shoe heights while preventing wasted space. Mount shelves directly to wall studs using 3-inch wood screws for adequate load capacity. Each shelf should support at least 30 to 50 pounds when properly installed. In drywall-only sections, use toggle bolts rated for the expected weight.
Many homeowners overlook that standard 1×12 boards measure 11.25 inches wide (actual dimension), not 12 inches. For a narrow entryway, that extra three-quarters of an inch matters when calculating how far the shelf protrudes into the walkway.
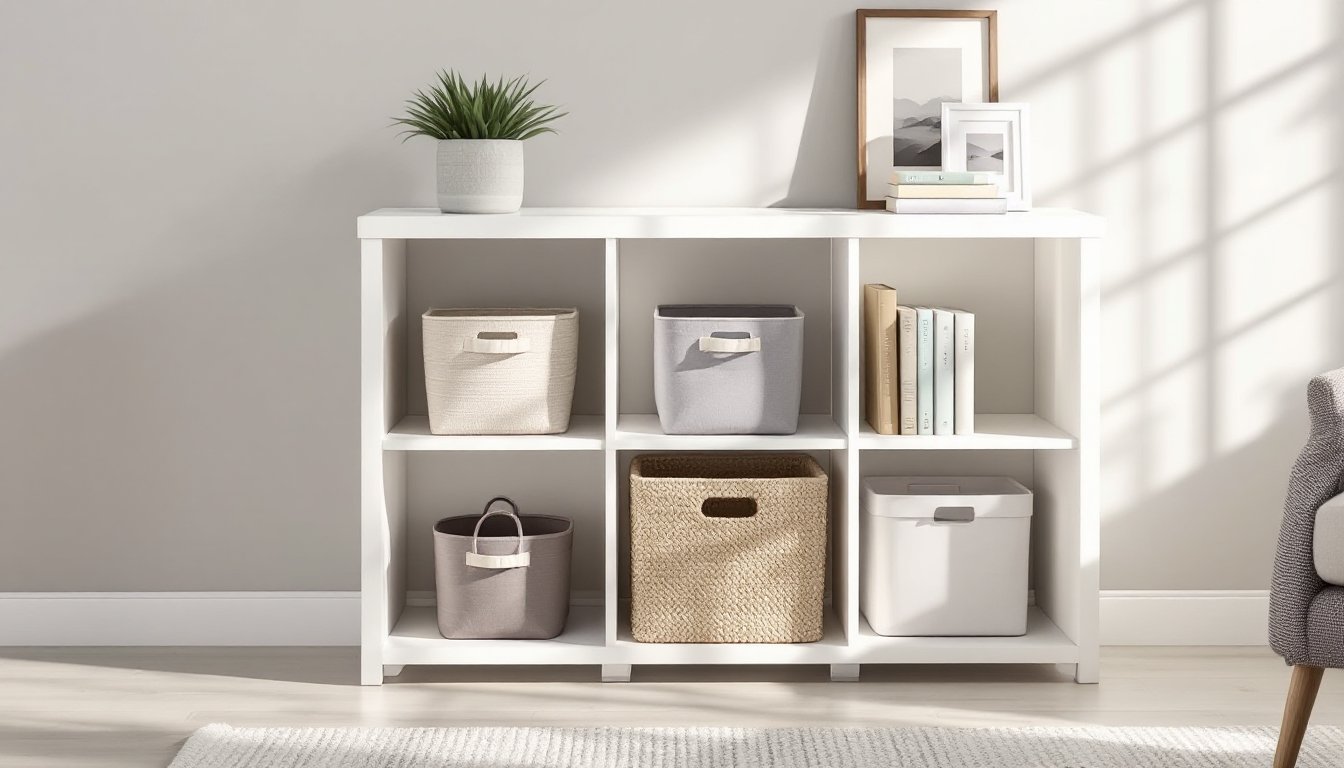
Cubby systems divide vertical space into individual compartments, typically 12×12 inches or 10×14 inches per cubby. Pre-made units mount as complete assemblies, while modular cube organizers can be stacked and configured to fit available wall space. These work particularly well for homes embracing organized storage systems throughout.
Installation requires locating studs, they’re typically spaced 16 inches on center in most residential construction. A stud finder simplifies this, but the old knock-and-listen method works too. Mark stud locations with painter’s tape before drilling. Use a level during installation: even slight tilts become obvious once shoes are loaded.
Wall-mounted storage presents one challenge: permanent holes in the wall. Renters should verify lease terms before drilling. Command strips and adhesive mounts claim to support shelving, but real-world testing shows they fail under sustained weight, especially in humid entryways.
DIY Narrow Shoe Storage Ideas You Can Build
Building custom shoe storage allows exact sizing for the available space and costs significantly less than comparable retail options. These projects require basic carpentry skills and common tools.
Simple Ladder Shelf: A ladder-style shoe rack leans against the wall at a 10 to 15-degree angle, creating a slim profile (12 to 14 inches deep) with multiple rungs for shoe storage. Cut two 2×2 boards to 72 inches for the vertical rails. Cut four to six rungs from 1×3 boards at 18 to 24 inches, depending on desired width. Dadoes (grooves) cut into the rails create stronger joints than butt joints with screws alone, but aren’t necessary for light-duty use. Space rungs 10 to 12 inches apart. Sand all edges smooth (120-grit paper minimum), then finish with polyurethane or paint. Total material cost runs $15 to $25.
Wall-Mounted Pipe Rack: Industrial pipe fittings create a sturdy, modern-looking shoe rack. Use 3/4-inch black iron pipe cut to desired shelf width (24 to 36 inches works for most entryways). Flanges mount directly to wall studs with 2.5-inch screws. Install three to four horizontal bars spaced 8 to 10 inches apart. Shoes rest on the pipes heel-first, creating an angled display. Hardware stores will thread and cut pipe to specified lengths, usually free with purchase. Total cost: $40 to $60 depending on length and number of tiers. The industrial aesthetic isn’t for everyone, but it’s exceptionally durable.
Crate Tower: Wooden crates (available at craft stores or home centers) stack to create instant cubbies. Look for crates measuring approximately 12×18 inches or similar proportions. Stack three to five crates vertically, rotating every other crate 90 degrees for visual interest and structural stability. Secure crates together with 1.25-inch wood screws driven through the bottom of the upper crate into the top of the lower crate (two screws per corner). Anchor the bottom crate to the wall with L-brackets to prevent tipping. Sand rough edges and apply stain or paint as desired. Cost: $8 to $15 per crate.
All DIY projects require proper safety equipment: safety glasses when cutting or drilling, work gloves when handling lumber, and a dust mask when sanding. Power tools demand respect, a circular saw or miter saw makes cleaner cuts than a handsaw, but requires careful setup and attention to blade guards.
For finishing, many DIYers overlook proper ventilation. Polyurethane and some paints release fumes that require open windows and ideally a fan exhausting air outdoors. According to home organization experts at Real Simple, proper finishing protects projects from moisture damage common in entryways.
How to Choose the Right Shoe Storage for Your Space
Selecting shoe storage starts with accurate measurements, not guesswork. Measure the entryway width, depth, and ceiling height with a tape measure. Account for baseboards, which typically project 0.5 to 0.75 inches from the wall. Note door swing paths, heating vents, light switches, and outlets that limit placement options.
Next, count shoes. Be realistic, include everyday wear, seasonal shoes, and specialty footwear like work boots or athletic shoes. The average adult owns 12 to 20 pairs of shoes, though this varies significantly. Add 20% capacity beyond current inventory to accommodate future purchases and guest shoes.
Match storage type to shoe collection composition. Households with many boots need deeper shelves or tall cubbies (14 to 16 inches high). Families with young children benefit from lower storage they can reach independently. Athletes with multiple pairs of sneakers need well-ventilated storage to manage odors.
Consider traffic patterns. Storage that forces people to stop and crouch in the main walkway creates bottlenecks. Wall-mounted options above waist height keep frequently-used floor space clear but require reaching overhead, not ideal for elderly household members or those with mobility limitations.
Installation requirements matter. Renters typically can’t drill into walls, limiting options to freestanding racks or over-door organizers. Homeowners have more flexibility but should still think about long-term plans. Drilling dozens of holes for a complex shelving system makes sense if staying long-term, but excessive wall damage complicates future sales.
Budget realistically. Quality ready-made narrow shoe storage ranges from $30 for basic over-door organizers to $150+ for solid wood wall-mounted systems. DIY projects cost less in materials ($15 to $60 for most projects covered here) but require time and tools. Factor in finish materials, paint, stain, or sealant adds $10 to $20.
Finally, test before committing to permanent installation. Set up freestanding storage or temporarily position wall-mount units to verify they don’t obstruct daily movement. Live with the arrangement for a few days. Small space design experts at Apartment Therapy emphasize that functional entryway storage must become invisible during daily use, if people constantly bump into it or reroute around it, the solution isn’t working regardless of how attractive it looks.
Maintenance requirements vary. Wire racks need occasional tightening of connections. Wood shelves in humid entryways benefit from annual inspection for water damage or warping. Over-door organizers should be removed and washed periodically, especially in homes where shoes carry mud or salt inside. Proper care, as detailed by Martha Stewart, extends the life of any storage system and keeps entryways looking intentional rather than makeshift.