Tupperware and plastic food containers have a sneaky habit of multiplying. One day you’ve got a tidy stack, and the next you’re digging through an avalanche of mismatched lids. But these stackable containers aren’t just for leftovers anymore, they’ve become versatile organizers throughout the home. From pantries to garages, the right storage strategy turns chaos into functional systems. This guide walks through practical approaches to organizing Tupperware itself, plus creative ways to repurpose these containers in spaces far beyond the kitchen.
Table of Contents
ToggleKey Takeaways
- Effective Tupperware storage solutions separate containers by size, store lids independently, and eliminate orphaned pieces to reduce food waste and speed up kitchen workflows.
- Organizing Tupperware with designated zones in the refrigerator and freezer—including sections for prepped ingredients, leftovers, and meal prep—maximizes cold storage space and prevents food spoilage.
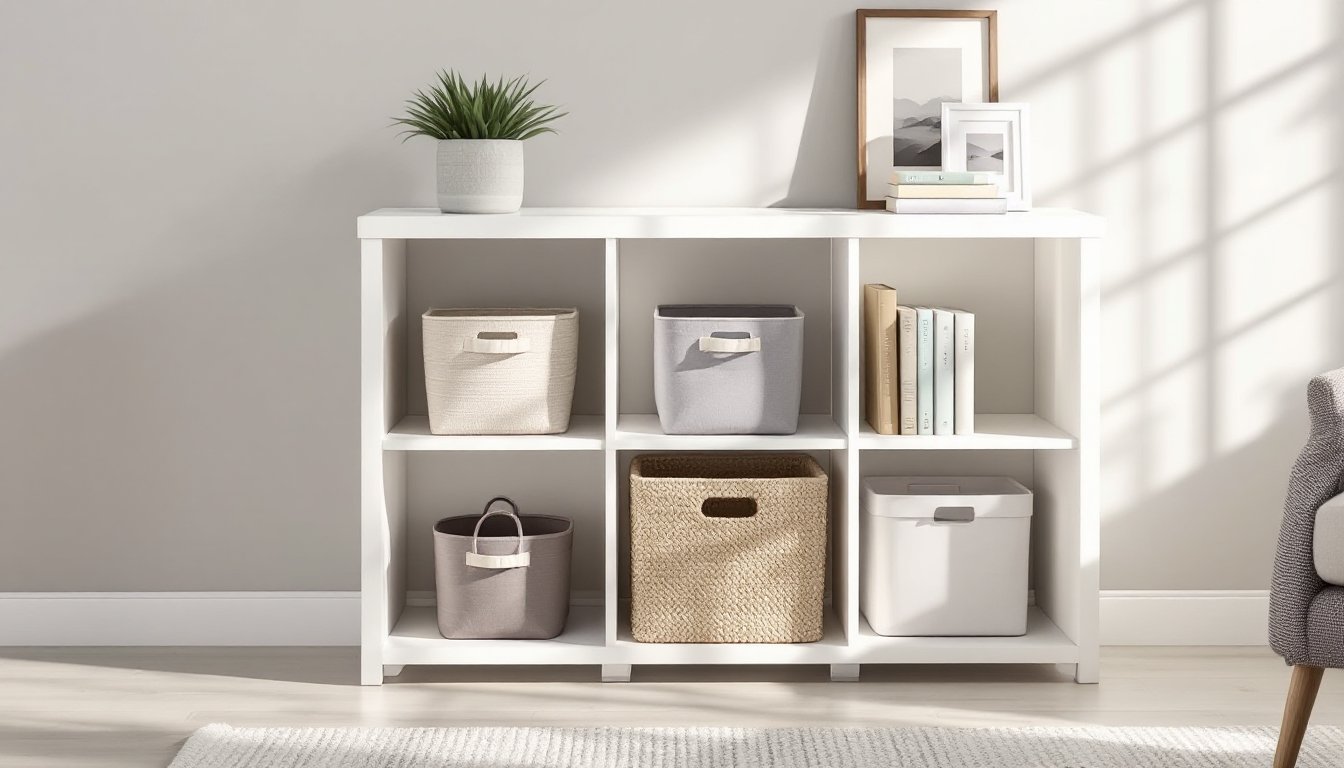
- Tupperware storage solutions extend far beyond the kitchen, offering affordable and durable organization for workshops, craft rooms, bathrooms, cars, and seasonal storage throughout your home.
- Investing in a modular set of 3-5 standard container sizes with matched lids, proper material grades (polypropylene or glass), and snapped closures ensures long-term durability and interchangeability.
- Simple DIY projects like drawer dividers, cabinet door lid racks, and tension rod vertical dividers provide effective Tupperware organization without expensive organizers.
Why Tupperware Storage Solutions Are Essential for Modern Homes
The average household owns between 20 and 40 plastic food storage containers, according to organizational research. Without a system, these pieces devour valuable cabinet space and waste time during meal prep.
Proper Tupperware organization delivers tangible benefits. It reduces food waste by making containers visible and accessible, which means leftovers actually get used. It speeds up kitchen workflows, no more pawing through a tangled nest of lids when packing lunches. And it frees up real estate in cabinets and drawers for other essentials.
Beyond functionality, organized storage supports sustainable storage practices by extending the life of reusable containers and reducing reliance on disposable alternatives. Clear systems also help identify damaged or stained pieces that need replacing, preventing the gradual accumulation of unusable clutter.
The key is treating Tupperware as a contained system, dedicated zones, matched sets, and ruthless editing of orphaned pieces. This mindset shift transforms these everyday items from kitchen nuisances into reliable tools.
Kitchen Organization with Tupperware Systems
Pantry and Food Storage Strategies
The most effective pantry systems separate containers by size and store lids independently. Vertical dividers inside cabinets or drawers keep stacks from toppling, tension rods work in a pinch, though dedicated adjustable dividers provide better stability.
For container bodies, nest same-size pieces together and group by capacity: small (1-2 cups), medium (3-4 cups), and large (6+ cups). Store these groups in plastic storage bins or drawer organizers to contain each category.
Lid storage deserves special attention. Mounting a narrow file organizer vertically inside a cabinet door corrals flat lids efficiently. For snap-on lids, a shallow drawer with dividers prevents the jumbled mess. Some DIYers install tension rods vertically between cabinet shelves to create lid slots, this works best for rectangular containers.
Label container bottoms with capacity using a label maker or permanent marker. This simple step eliminates guesswork when grabbing containers in a hurry.
Material considerations: Glass containers with plastic lids weigh more but resist staining and odors better than all-plastic versions. For pantry staples like flour or rice, square containers maximize shelf space compared to round ones.
Refrigerator and Freezer Organization
Refrigerator Tupperware needs a different approach than pantry storage. Clear containers let you identify contents without opening, reducing energy waste from prolonged door time. Square and rectangular shapes pack tighter than round containers, maximizing cold storage space.
Designate specific zones: a bin for prepped ingredients (chopped vegetables, cooked grains), another for leftovers, and a third for meal-prep containers. This storage solution for small kitchens approach keeps similar items grouped and prevents the “science experiment” syndrome of forgotten food in back corners.
Professional organizers recommend using uniform container sizes within the fridge to create stackable, space-efficient arrangements. Stick to 2-3 standard sizes rather than collecting every dimension available.
For freezer storage, choose containers rated for sub-zero temperatures, standard food-grade polypropylene (marked with recycling symbol #5) handles freezing without cracking. Leave 1/2-inch headspace in containers with liquids, as contents expand when frozen.
Date all freezer containers with masking tape and marker. Most frozen leftovers maintain quality for 2-3 months: soups and stews last 4-6 months. Flat, stackable containers save freezer space compared to bulky round tubs.
Beyond the Kitchen: Creative Tupperware Storage Ideas
Tupperware’s durability and variety make it surprisingly useful throughout the home. Repurposing older containers for non-food uses extends their lifespan and solves organization challenges in unexpected places.
Workshop and garage: Small to medium containers corral hardware, screws, nails, washers, and anchors stay sorted and visible. Drill 1/8-inch holes in lids for a quick visual scan of contents when containers are stacked. Mount shallow containers under shelving with L-brackets to create accessible small-parts storage along pegboard walls.
Craft rooms: Craft storage solutions often rely on clear containers for beads, buttons, sequins, and embellishments. Snap-lid Tupperware prevents spills better than zipper bags and stacks neatly on shelving. Rectangular containers in 4-cup and 6-cup sizes work well for yarn skeins, ribbon spools, and fabric scraps.
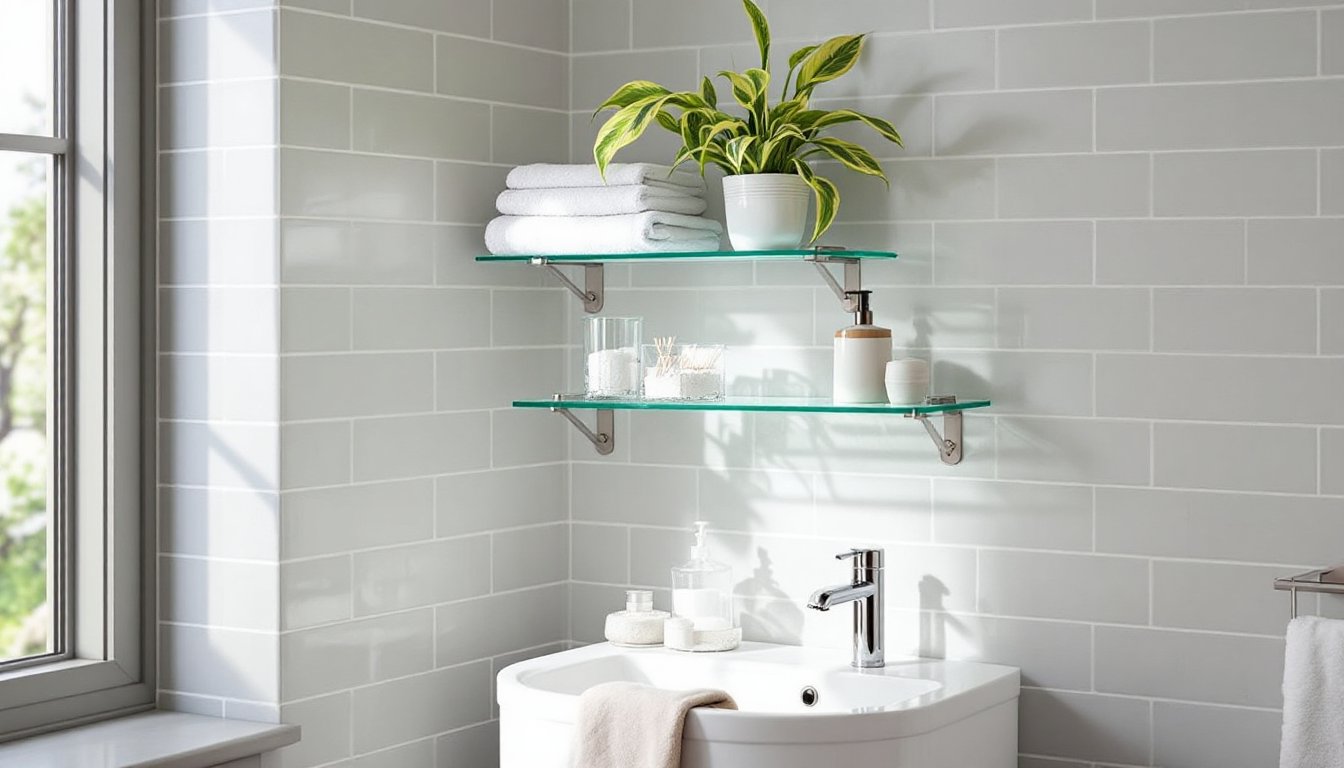
Bathrooms: Repurpose small containers (1-2 cup capacity) inside vanity drawers to separate makeup, cotton swabs, travel-size toiletries, and hair accessories. Unlike specialty acrylic organizers, Tupperware withstands humidity and wipes clean easily.
Seasonal storage: Larger containers protect delicate holiday ornaments, lightbulb strings, and small decorations in attic storage spaces. Wrap fragile items in tissue before placing them in containers to prevent breakage. Label each container by holiday and contents using weatherproof labels.
Car organization: A medium-sized container in the trunk holds emergency supplies, jumper cables, tire gauge, first-aid kit, and roadside flares. The sealed lid keeps items dry and contained during travel.
Kids’ rooms: Tupperware containers manage toy small parts (LEGO bricks, doll accessories, game pieces) more affordably than specialty toy organizers. Choose containers kids can open independently, and label with pictures for pre-readers.
Choosing the Right Tupperware for Your Storage Needs
Not all plastic containers are created equal. Material composition, lid design, and size standards significantly affect functionality and longevity.
Material grades: Look for containers marked BPA-free and designated food-safe. Polypropylene (#5 plastic) handles temperature extremes from freezer to microwave and resists staining. Polyethylene (#2 or #4) costs less but may warp in the microwave and absorbs odors over time.
Glass containers with plastic lids offer the best of both worlds, non-reactive glass for food contact and snap lids for secure transport. They’re heavier and pricier but outlast plastic alternatives by years.
Lid mechanisms: Snap-on lids with four-point closure provide better seals than flexible press-on versions. Containers with silicone gaskets in the lid create truly airtight storage for flour, sugar, and other pantry staples. Screw-top lids work well for liquids but take longer to open and close.
Size standardization: Invest in a modular set rather than accumulating random pieces. Systems with 3-5 standard sizes that nest together maximize storage efficiency. Experts note that sticking to one brand family ensures lids are interchangeable across similar-sized containers.
Capacity planning: For most households, a balanced set includes:
- 4-6 small containers (1-2 cups) for sauces, dressings, and snacks
- 6-8 medium containers (3-5 cups) for leftovers and meal prep
- 3-4 large containers (6+ cups) for batch cooking and bulk storage
Specialty features: Vented lids help steam vegetables in the microwave. Divided containers work for portion-controlled meal prep. Stackable designs with interlocking ridges prevent sliding and maximize vertical space.
When browsing storage deals, check that sets include matched quantities of lids and bases, some budget sets skimp on lids. Read product dimensions carefully: “10-piece set” often counts lids and bases separately, meaning you’re actually getting 5 usable containers.
DIY Tupperware Organization Projects and Hacks
A few simple DIY projects dramatically improve Tupperware storage without buying expensive organizers.
Drawer divider insert: Measure drawer interior dimensions and cut 1/4-inch plywood or corrugated plastic sheet to fit. Mark divisions for small, medium, and large container zones, plus a separate lid section. Cut and install dividers perpendicular to drawer front using wood glue or hot glue. This creates permanent compartments that keep categories separated.
Cabinet door lid rack: Mount a small metal file organizer ($5-10 at office supply stores) to the inside of a cabinet door using screws or heavy-duty adhesive strips rated for the weight. Position it low enough to clear shelves when the door closes. This keeps lids vertical and accessible without consuming interior cabinet space.
Lazy Susan for round containers: A 12-inch rotating tray inside a corner cabinet turns dead space into functional storage. Stack round containers in concentric circles on the Susan for easy access to pieces in back.
Tension rod vertical dividers: Install spring-loaded tension rods vertically between cabinet shelves, spacing them 2-3 inches apart. Slide container lids into the slots created between rods. This works especially well in tall cabinets with 14+ inches of vertical clearance.
Pegboard container system: In a garage or workshop, mount 1/4-inch pegboard to wall studs with spacers behind for hook clearance. Attach shallow containers to pegboard using zip ties through holes or specialty pegboard clips. This creates visible, accessible storage for small parts.
Under-shelf basket hack: Slide-on wire baskets that attach beneath existing shelves create extra storage for lightweight container lids without permanent installation. These cost $8-15 and work in both cabinets and pantries.
Safety note: When drilling or mounting hardware on cabinet doors, check clearances carefully. Hinges, door thickness, and shelf placement all affect whether door-mounted solutions will work without interference. Test-fit before making permanent installations.