Bathrooms are often the smallest rooms in a home, yet they need to hold towels, toiletries, cleaning supplies, and daily essentials. Corners sit unused in most bathrooms, dead zones where walls meet at 90 degrees. Smart corner storage transforms these awkward angles into high-function real estate. Whether dealing with a cramped powder room or a master bath with layout challenges, corner solutions can add 20–30% more usable storage without expanding the footprint. This guide breaks down the best corner storage types, DIY-friendly builds, and selection strategies to help homeowners reclaim wasted space and cut countertop clutter.
Table of Contents
ToggleKey Takeaways
- Bathroom corner storage utilizes overlooked wall space to add 20–30% more usable storage without expanding your bathroom’s footprint, making it ideal for small bathrooms and cramped layouts.
- Corner shelves can hold as much as longer linear shelves while taking up less wall space, and proper placement near sinks or showers keeps daily essentials accessible while reducing counter clutter.
- Install bathroom corner storage securely into wall studs or use heavy-duty anchors rated for 50+ pounds; tile walls require carbide-tipped masonry bits, while drywall needs toggle bolts or molly bolts for safety.
- DIY corner shelf projects using plywood or ladder frames cost $30–50 and can be completed in a weekend, offering budget-friendly alternatives to pre-fabricated units.
- Match corner storage materials to moisture zones—shower corners need stainless steel, aluminum, or sealed resin, while sink-area corners can use painted wood or melamine.
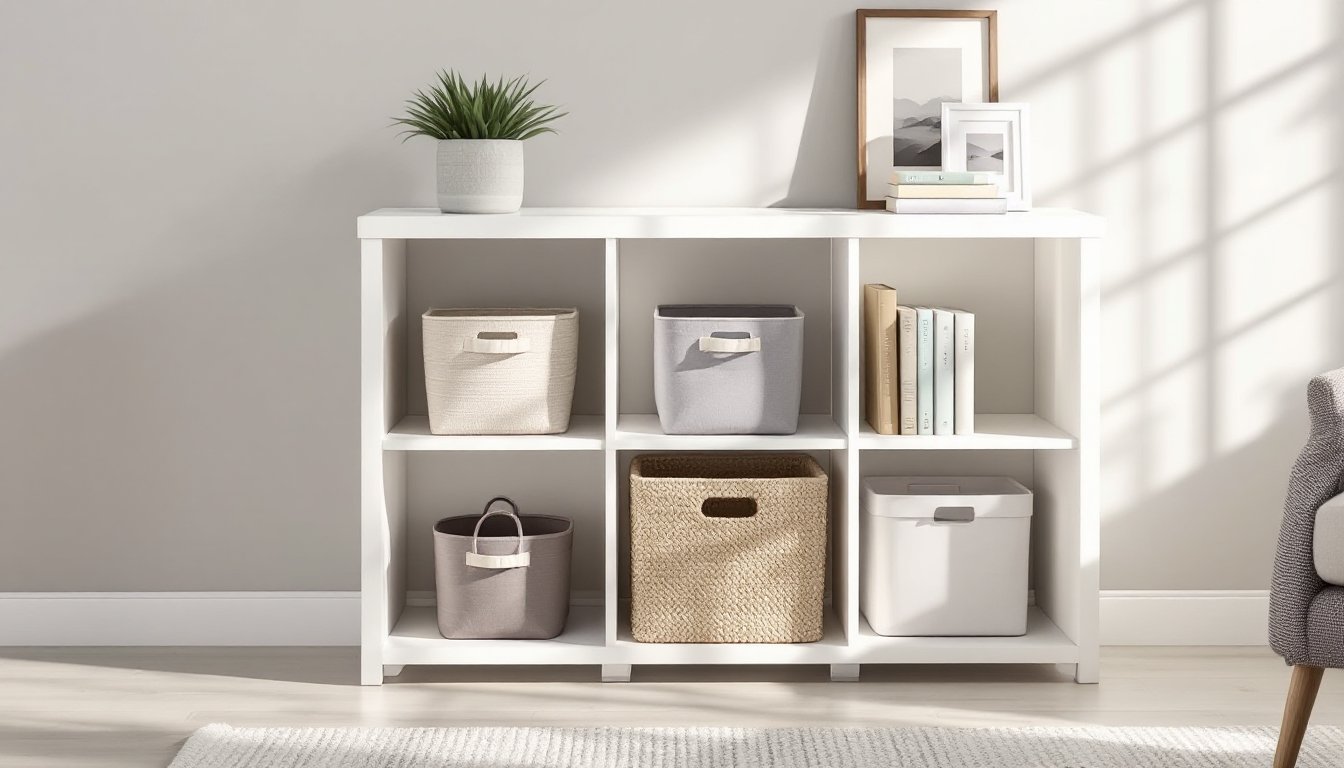
- Optimize corner storage functionality by grouping items by use frequency, using labeled containers, and maintaining 60–70% shelf coverage to balance accessibility with a clean aesthetic.
Why Corner Storage Is the Secret to a Clutter-Free Bathroom
Corners account for roughly 10–15% of a bathroom’s wall area but are often left empty or used poorly. Standard rectangular cabinets and shelves don’t fit the angle, leaving triangular gaps that collect dust. Corner-specific storage fits flush into these zones, utilizing vertical height and angled footprints.
Space efficiency is the primary benefit. A 12-inch corner shelf can hold as much as a 24-inch linear shelf while occupying less wall space. For bathrooms under 40 square feet, common in apartments and older homes, every inch matters. Corner units keep essentials within arm’s reach of the sink or shower without crowding walkways.
Workflow improvement is another advantage. Placing frequently used items (toothbrush, soap, razors) in a shower corner caddy or above-sink corner shelf reduces counter sprawl and keeps surfaces clear for actual tasks. In shared bathrooms, corner storage can create dedicated zones per user without requiring full vanity expansion.
Corners also offer design flexibility. Floating corner shelves break up plain tile walls, while tall corner cabinets add vertical interest in bathrooms with high ceilings. Properly installed corner storage doesn’t interfere with door swings, toilet placement, or ventilation grilles, common pain points in tight layouts.
Best Types of Bathroom Corner Storage Solutions
Corner Shelves and Floating Units
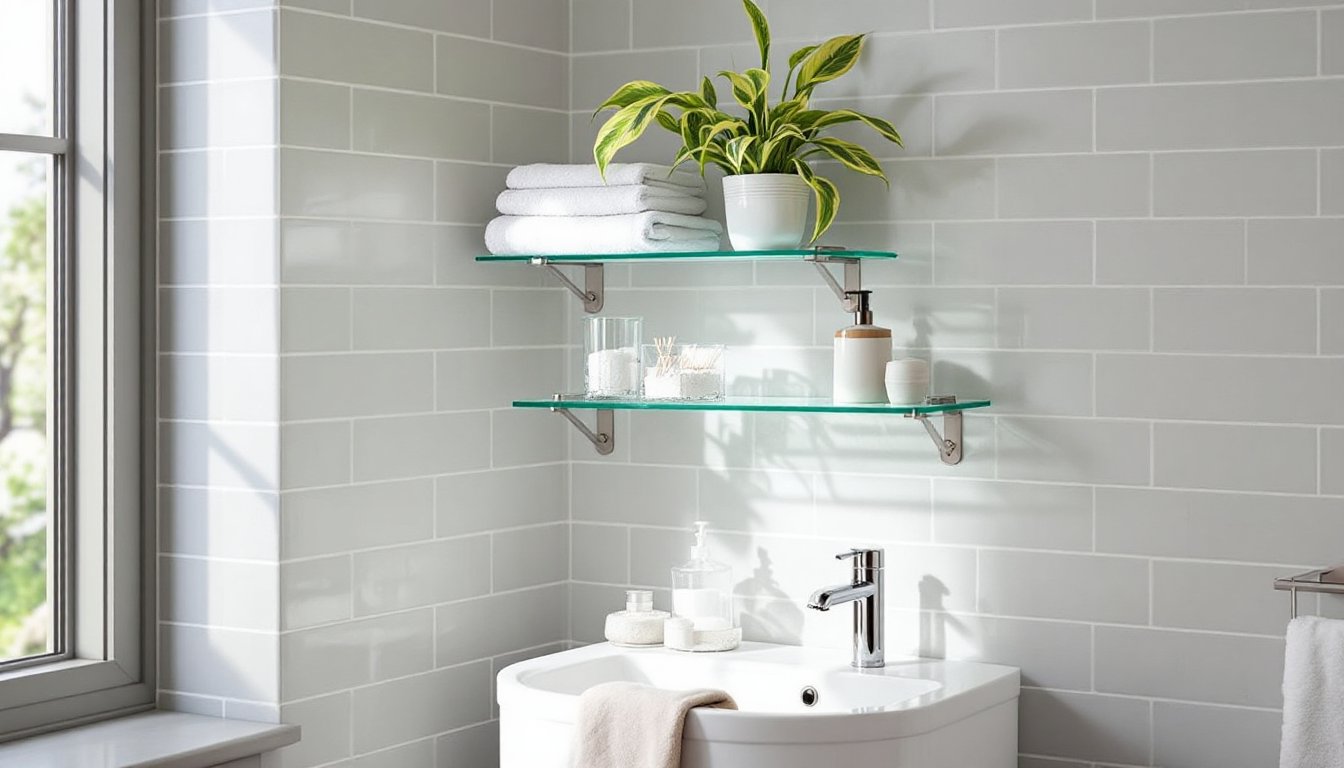
Floating corner shelves mount directly to wall studs or blocking and create a minimalist look. Tempered glass shelves (⅜-inch thick) are popular in modern bathrooms: they resist humidity and weigh about 3 pounds per square foot when empty. Wood or MDF shelves need moisture-resistant finish, polyurethane or marine-grade varnish, to prevent warping. Standard corner shelf depths range from 8 to 12 inches: deeper units risk head-bumps near sinks or toilets.
Installation requires hitting at least one stud or using toggle anchors rated for 50+ pounds in drywall. Mark stud locations with a finder, drill pilot holes, and use 3-inch screws for solid backing. For tile walls, use carbide-tipped masonry bits and plastic anchors designed for ceramic.
Tension-pole corner caddies work well in shower enclosures. These spring-loaded poles wedge between floor and ceiling (typical range: 5 to 9 feet) and hold multiple basket tiers. No drilling required, but grout lines and tile texture can cause slippage over time. Tighten adjustment nuts monthly and ensure the pole sits on a solid surface, not just caulk.
Pre-fabricated corner shelf units (wire, resin, or powder-coated steel) mount with adhesive pads or screws. Wire models allow water drainage in showers but collect soap scum in crevices. Resin units are rust-proof and lightweight but can yellow under direct sunlight or strong cleaning chemicals. For small bathrooms, designers increasingly recommend space-saving tactics that incorporate corner shelving into broader layout strategies.
Corner Cabinets and Towers
Floor-standing corner cabinets fit into 90-degree angles and typically measure 12 to 18 inches per side (footprint). These units range from 24 inches (countertop height) to 72 inches (floor-to-ceiling towers). Taller towers maximize vertical space in bathrooms with 8-foot or higher ceilings and can store bulk items like extra toilet paper, linens, or cleaning supplies.
Most ready-to-assemble (RTA) corner cabinets use particleboard or MDF with melamine coating. For humid bathrooms, seek moisture-resistant MDF or solid wood (poplar, birch) with sealed interiors. Check that hinges are soft-close and corrosion-resistant, brass or stainless-steel piano hinges outlast zinc-plated hardware in damp environments.
Installation involves leveling the unit, anchoring it to wall studs with L-brackets, and shimming the base if floors aren’t level. Use a 4-foot level on two sides: even minor tilt causes doors to swing open or stick. Scribe the cabinet sides to fit baseboards or uneven walls using a compass tool and jigsaw.
Wall-mounted corner cabinets save floor space and work above toilets or next to vanities. They typically require blocking between studs or toggle anchors rated for the cabinet’s loaded weight (estimate 10–15 pounds per shelf when full). Drill into studs whenever possible for structural loads.
For those pursuing additional organization, many of the same principles apply to storage solutions for small kitchens, where corner units and vertical stacking reduce clutter in confined areas.
DIY Bathroom Corner Storage Projects You Can Build This Weekend
Floating corner shelf from ¾-inch plywood or solid wood:
- Cut two right-triangle pieces with 10-inch legs (or desired depth) using a circular saw or miter saw. Sand edges smooth (120-grit).
- Rip a 1×2 cleat to mount inside the corner. Cut two 10-inch lengths at 45-degree miters so they meet flush in the corner.
- Locate studs in both walls. If studs don’t align with the corner, install blocking between studs (requires drywall access) or use heavy-duty toggle anchors.
- Screw cleats to wall studs with 2½-inch screws. Check level on both axes.
- Apply construction adhesive to cleat tops, set shelf triangle in place, and secure from underneath with 1¼-inch screws.
- Finish with polyurethane (three coats, sanding between) or waterproof paint. Allow 48 hours to cure before loading.
Tools needed: Circular or miter saw, drill/driver, stud finder, level, sanding block. PPE: Safety glasses, dust mask.
Corner ladder shelf from 1×4 boards:
- Cut four vertical rails at 60 inches and 12 shelf supports at 12 inches each (creates three shelf tiers).
- Assemble two ladder frames by screwing shelf supports between vertical rails every 18 inches. Use 2-inch screws and pre-drill to prevent splits.
- Stand frames in corner at 90 degrees. Screw a 1×2 brace across the back where frames meet for stability.
- Cut triangular shelves from ½-inch plywood to rest on supports. Notch corners to fit around vertical rails.
- Anchor the unit to wall studs with L-brackets at top and mid-height.
- Finish with semi-gloss paint or stain/poly.
Materials cost: Approximately $30–50 depending on lumber grade and finish. Build time: 3–4 hours plus finishing.
Repurposed corner plant stand: Thrift-store or salvaged tiered plant stands (often wood or wrought iron) convert easily to bathroom storage. Clean thoroughly, seal wood with marine varnish, and treat metal with rust-inhibiting primer and enamel. Line baskets or trays for toiletries. No cutting required, just finishing and anchoring to prevent tip-over (use furniture straps or L-brackets).
Design enthusiasts looking for broader aesthetic inspiration often turn to sources like Remodelista for curated ideas on integrating storage into bathroom remodels.
How to Choose the Right Corner Storage for Your Bathroom Layout
Measure the corner footprint first. Use a tape measure to find the distance from the corner along each wall where the unit can sit without blocking doors, drawers, or toilet access. Standard building codes (IRC) require 21 inches of clear space in front of a toilet and 30 inches in front of a sink for ADA compliance in new construction, though existing bathrooms may vary.
Assess ceiling height. Bathrooms with 8-foot ceilings benefit from floor-to-ceiling towers that maximize vertical storage. Lower ceilings (7 feet or less, common in basements) work better with wall-mounted shelves or short cabinets to avoid a cramped feel.
Identify wall type. Tile, drywall, plaster, or concrete backer board each require different anchors. For tile, use carbide-tipped masonry bits and plastic expansion anchors. For drywall, toggle bolts or molly bolts distribute weight. Plaster walls often have wood lath behind: locate lath with a stud finder set to deep scan, then use screws long enough to penetrate lath and framing.
Consider moisture zones. Shower corners need rust-proof materials, stainless steel, aluminum, teak, or sealed resin. Avoid particleboard, unsealed MDF, or ferrous metals. Sink-area corners handle moderate humidity and can use painted wood or melamine. Corners far from water sources (near doors or windows) have the widest material options.
Match style to fixtures. Brushed nickel shelves pair with modern faucets: oil-rubbed bronze suits traditional hardware. Wood tones should complement vanity finishes. Glass shelves lighten small spaces visually but show water spots and require frequent cleaning.
Check door and drawer clearance. Open all vanity drawers and doors, then measure the arc. A corner cabinet door that swings into a vanity door creates daily frustration. Opt for sliding doors, open shelving, or repositioning if clearance is tight.
Budget for installation hardware. Quality toggle anchors, stud screws, and brackets add $10–20 to any project but prevent failures. A floating shelf that pulls out of drywall can shatter tile, crack fixtures, or cause injury.
Styling Your Corner Storage for Function and Aesthetics
Group by use frequency. Place daily items (toothbrush, face wash, deodorant) on eye-level shelves. Store backups and less-used products (extra shampoo, first-aid supplies) on upper or lower tiers. This reduces bending and reaching, improving workflow.
Use containers and trays. Wicker baskets, acrylic bins, or ceramic trays corral small items and prevent visual clutter. Label containers if multiple users share the bathroom. Clear acrylic works well for makeup or grooming tools: woven baskets suit towels and linens.
Maintain vertical space. Stack items by height, tall bottles in back, short jars in front. Use shelf risers or tiered organizers to create sub-levels within each shelf. This technique can double effective storage on a single tier.
Add lighting. Battery-powered LED puck lights or adhesive strip lights under floating shelves improve visibility in dim corners and highlight décor. Warm white (2700–3000K) softens the space: cool white (4000K+) aids task lighting for grooming.
Rotate seasonal items. Store sunscreen and bug spray in summer: move cold-weather lotions and humidifier supplies to accessible shelves in winter. Keep off-season products in closed cabinets or basement storage.
Incorporate greenery. Small potted plants (pothos, snake plant, bamboo) thrive in bathroom humidity and add color to corner shelves. Ensure pots have drainage or use false-bottom cachepots to prevent water damage. Many homeowners find design inspiration and product curation through platforms like The Spruce, which offers detailed guides on integrating plants and décor into functional spaces.
Limit open-shelf density. Overstuffed shelves look chaotic and make it hard to retrieve items. Aim for 60–70% coverage, leaving breathing room. If shelves feel crowded, add a cabinet or relocate lesser-used items.
Clean regularly. Bathroom corners collect dust, hair, and product residue. Wipe shelves weekly with a damp microfiber cloth and mild cleaner. Remove all items monthly for a deep clean, checking for mold or mildew behind containers. Sealed wood and powder-coated metal resist moisture better than raw finishes but still need routine maintenance.
Safety note: Secure tall or heavy corner units to wall studs with furniture straps or L-brackets, especially in homes with children or pets. A toppling tower can cause serious injury and fixture damage.