A cluttered desk doesn’t just look messy, it drains productivity. When floor space is tight and paperwork piles up, the answer is above eye level. Office wall storage cabinets reclaim vertical real estate that most home offices waste, turning blank walls into organized, accessible storage zones. Whether someone’s converting a spare bedroom into a workspace or overhauling a dedicated office, wall-mounted cabinets deliver function without eating up precious square footage. This guide covers everything needed to select, install, and maximize wall storage cabinets for a home office that actually works.
Table of Contents
ToggleKey Takeaways
- Office wall storage cabinets reclaim vertical space and eliminate the footprint of floor cabinets, which occupy 4 to 6 square feet per unit in compact home offices.
- Wall-mounted storage improves ergonomics by positioning frequently accessed items at eye level, reducing strain during long work sessions and repeated reaching throughout the day.
- Proper installation into wall studs using #8 or #10 wood screws supports cabinets up to 100 pounds safely, while toggle bolts offer an alternative for drywall-only mounting on lighter units.
- Enclosed wall cabinets hide clutter and dust while floating shelves provide maximum accessibility, making your choice dependent on whether aesthetics or frequent access is the priority.
- Adjustable shelving, labeling systems, baskets, and LED lighting transform office wall storage cabinets into organized zones that adapt to changing needs and reduce desktop clutter.
- Load testing before permanent use and reinforcing anchors prevents sagging, ensuring your wall storage investment remains secure and functional over the long term.
Why Wall-Mounted Storage Is Essential for Modern Home Offices
Floor cabinets and filing systems occupy roughly 4 to 6 square feet per unit, space that could hold a chair, a printer cart, or simply provide breathing room. Wall-mounted storage eliminates that footprint while keeping supplies within arm’s reach.
Vertical storage also improves ergonomics. Items stored at eye level or just above reduce the need to bend, crouch, or reach across desks. This matters during long work sessions when retrieving files, binders, or office supplies dozens of times a day.
From a structural perspective, most interior walls can support wall cabinets when properly anchored. Standard 16-inch on-center studs provide solid mounting points for cabinets weighing up to 100 pounds when using appropriate hardware. Drywall anchors work for lighter units, but stud mounting is the gold standard for longevity and safety.
Wall cabinets also adapt to unconventional spaces. Alcoves, corners, and areas above doorways become functional zones instead of dead space. In shared home offices, mounting cabinets at different heights creates individual storage territories without installing room dividers.
Types of Office Wall Storage Cabinets for Every Need
Floating Cabinets and Open Shelving Units
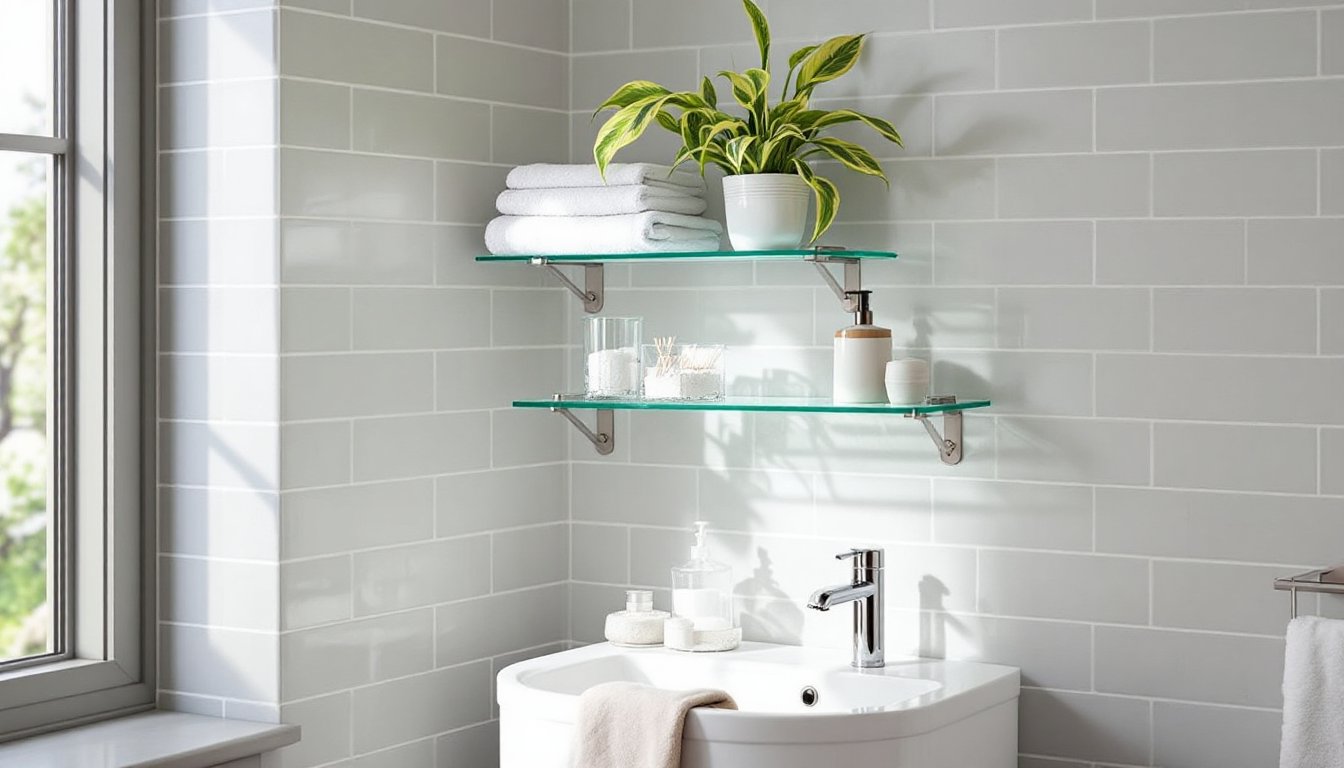
Floating cabinets mount flush to the wall with concealed brackets, creating a clean, modern look. They’re ideal for displaying frequently used items, binders, reference books, office supplies, without the visual weight of a traditional cabinet. Most floating units range from 12 to 24 inches deep and come in modular widths that can be stacked or arranged in custom configurations.
Open shelving offers maximum accessibility. No doors mean no fumbling with handles when hands are full. But, open shelves collect dust faster and expose everything to view, which won’t suit everyone’s aesthetic. For offices with minimal clutter, open shelving keeps essentials visible and encourages a streamlined workspace. Many DIYers appreciate that open shelves are easier to install than enclosed cabinets since there’s no need to account for door swing clearance.
Material choice matters here. Solid wood or plywood shelving handles heavier loads better than particleboard, especially for longer spans. A ¾-inch plywood shelf spanning 36 inches can support roughly 35 pounds per linear foot without sagging, while particleboard may bow under half that weight.
Enclosed Cabinets and Lockable Storage Options
Enclosed wall cabinets hide clutter behind doors, making them the go-to choice for offices that double as guest rooms or multipurpose spaces. Standard depths run 12 to 15 inches, which accommodates letter-size file folders, printer paper reams, and most office electronics without protruding too far from the wall.
Lockable cabinets add security for sensitive documents, equipment, or supplies in shared households. A simple cam lock or keyed cabinet lock retrofits onto most cabinets, though some models come pre-drilled for lock installation. This is especially useful for home-based businesses that need to comply with data privacy standards or simply want to keep expensive gear away from curious kids.
Glass-front cabinets split the difference: they conceal dust while displaying contents. Tempered glass doors resist shattering and support light-duty use, though they add weight to the installation. Budget for heavier-duty wall anchors or plan to hit studs if opting for glass-front units.
How to Choose the Right Wall Cabinet for Your Office Space
Start by measuring the available wall space and noting stud locations. A stud finder saves guesswork and prevents weak mounting points. Mark stud centers with painter’s tape, they’ll guide cabinet placement and anchor points.
Weight capacity is non-negotiable. Add up the estimated weight of everything the cabinet will hold, then multiply by 1.5 for a safety margin. A cabinet rated for 50 pounds shouldn’t actually carry 50 pounds of gear long-term. Manufacturer specs usually list maximum load per shelf: verify whether that’s evenly distributed weight or a worst-case scenario.
Depth and projection affect both function and traffic flow. Cabinets deeper than 15 inches may interfere with desk chairs or create head-bump hazards in tight spaces. In offices narrower than 8 feet, stick to 12-inch-deep cabinets to preserve elbow room. Measure from the wall to the back of the desk chair when it’s pulled out, that’s the usable depth for wall storage.
Style should match existing furniture, but don’t sacrifice function for aesthetics. A sleek floating cabinet looks sharp, but if the office handles heavy files or bulky binders, a reinforced enclosed unit with adjustable shelves is the smarter pick. Many people find that Western Pacific storage systems offer modular configurations that adapt to changing office needs without requiring full replacement.
Material durability correlates with use case. Melamine-coated particleboard works fine for light storage, pens, papers, small electronics. For heavier loads or high-traffic offices, invest in plywood or solid wood construction. Check edge banding on particleboard units: poorly sealed edges absorb moisture and swell over time.
DIY Installation Guide: Mounting Office Wall Cabinets Safely
Safety first: Wear safety glasses during drilling. Wall cabinets can weigh 40+ pounds empty, so recruit a second pair of hands for positioning and holding the unit while fastening.
Tools and Materials:
- Stud finder
- Level (24-inch or longer recommended)
- Drill/driver with bits (pilot holes prevent splitting)
- #8 or #10 wood screws, 2.5 to 3 inches long (for stud mounting)
- Toggle bolts or heavy-duty anchors (if studs aren’t available)
- Pencil, painter’s tape, measuring tape
Step-by-Step Installation:
-
Locate studs. Mark centers with tape. Most studs run 16 inches on-center, but verify, older homes sometimes use 24-inch spacing.
-
Determine cabinet height. For seated work, mount the bottom shelf 24 to 30 inches above the desk surface. For standing-height workstations, adjust to eye level (roughly 60 inches from the floor for average adults).
-
Mark the mounting rail or bracket locations. Most wall cabinets use a mounting rail (sometimes called a French cleat) or metal brackets. Hold the cabinet in position (this is where a helper is essential), level it, and mark hole locations through the cabinet’s back panel or mounting hardware.
-
Drill pilot holes. Use a bit slightly smaller than the screw diameter. Pilot holes prevent the wood from splitting and make driving screws easier.
-
Drive screws into studs. For a standard cabinet, use at least two screws per stud, one near the top, one near the bottom of the mounting rail. If the cabinet spans multiple studs, fasten at each stud location.
-
No stud? Use toggle bolts. For drywall-only mounting (not recommended for cabinets over 30 pounds), ⅜-inch toggle bolts rated for at least 50 pounds each provide decent holding power. Distribute the load across four or more anchors.
-
Check level after fastening. Cabinets can shift slightly as screws tighten. A bubble level confirms everything’s still plumb.
-
Load test before final use. Place a fraction of the intended weight inside and wait 24 hours. If the cabinet sags or fasteners loosen, reinforce with additional anchors or relocate to hit more studs.
Code and permit notes: Wall cabinets typically don’t require permits since they’re non-structural. But, if modifying walls in a rental or condo, check lease terms or HOA rules. And if the office is in a basement or garage with CMU (concrete masonry unit) walls, swap wood screws for masonry anchors or Tapcon screws.
Many detailed installation guides walk through alternative mounting methods for tricky wall types, including metal studs and plaster-over-lath construction.
Creative Organization Ideas for Wall Storage Cabinets
Adjustable shelving adapts as storage needs evolve. Drill extra peg holes on 32mm centers (the European standard) so shelves can shift up or down without reinstalling hardware. This flexibility matters when switching from storing reams of paper to housing a small printer or scanner.
Label everything. Even in a solo office, labeled bins and folders cut retrieval time. Use a label maker or printable adhesive labels. For cabinets with opaque doors, affix a contents list to the inside of the door, no guessing which cabinet holds the staplers.
Vertical dividers corral binders and notebooks upright. Without dividers, books lean and collapse into messy piles. Adjustable wire dividers or acrylic file holders drop into most shelves without tools.
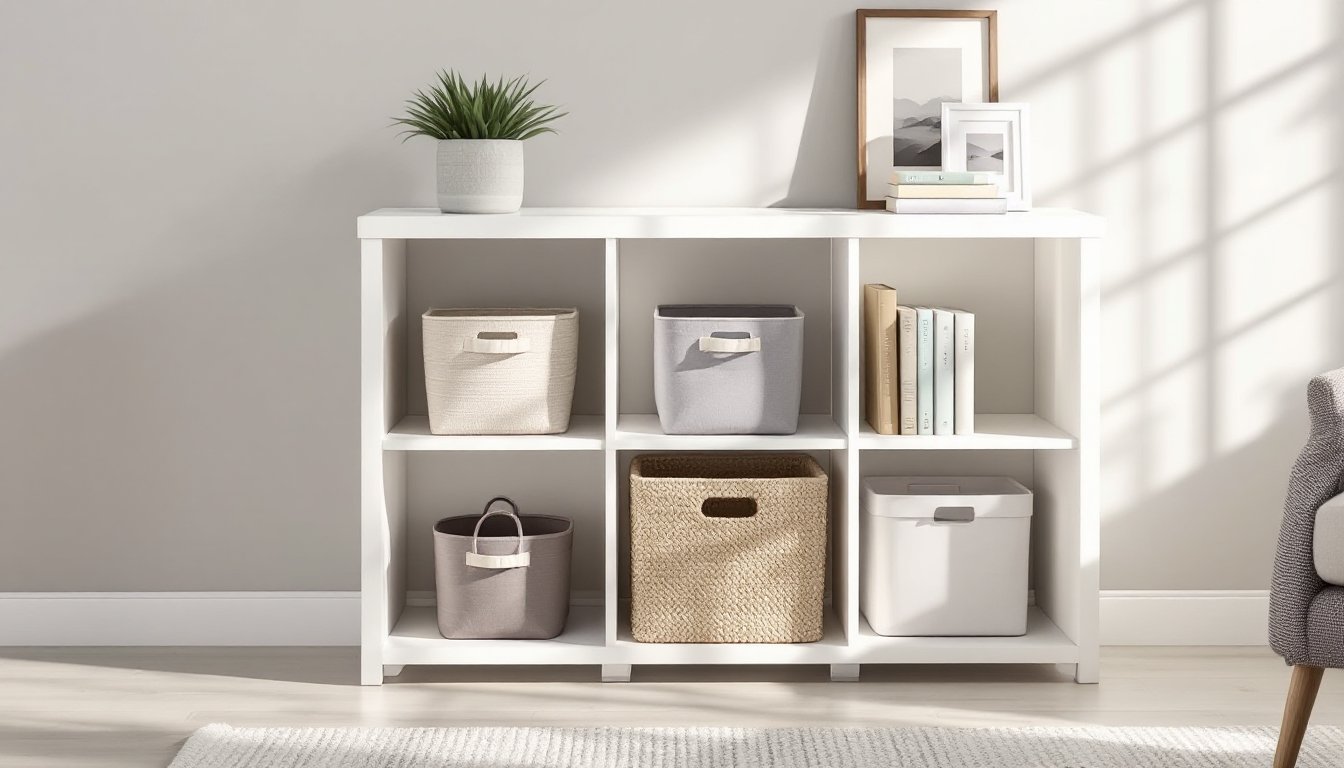
Baskets and bins group small items, chargers, pens, sticky notes, that otherwise migrate to desk clutter. Woven baskets soften the look of utilitarian metal cabinets, while clear plastic bins make contents visible at a glance. Simple storage strategies often emphasize grouping like items together to reduce visual noise and speed up access.
Lighting matters. Cabinets mounted above desks can cast shadows on the work surface. Battery-powered LED puck lights or adhesive light strips inside cabinets illuminate contents without wiring. Motion-activated options save battery life.
Use the cabinet tops. If there’s clearance between the cabinet and ceiling, that surface becomes a display zone for plants, photo frames, or infrequently used reference materials. Just ensure items won’t topple off if someone bumps the cabinet.
Magnetic strips inside metal cabinet doors hold scissors, small tools, or keys. Adhesive-backed magnetic tape works on wood or laminate doors, turning dead space into functional storage.
Cable management clips prevent charger cords from tangling. Route cables through the back of the cabinet using grommet holes or notched shelves, keeping power strips and adapters hidden but accessible. For offices with multiple devices, step-by-step project tutorials often feature clever cable routing solutions using common hardware store materials.